Most first websites don't fail because of bad design.
They fail because nobody decided what the website was for.
Someone buys a domain on a Sunday night, picks a template, writes "Welcome to our website" on the homepage, and then wonders why nobody visits and nobody buys six months later.
The website was never the problem. The plan was.
I've seen this pattern across dozens of projects: freelancers, local businesses, store owners, and founders with a big idea. The ones who win spend a few hours on planning before they open a code editor or a page builder. The ones who lose spend months fixing things that a one-page brief would have prevented.
So here's the playbook. It's the same process whether you're building a five-page business site, a store, or something fully custom. Treat it like a pillar guide. Each section links to a deeper dive on this site when you're ready to go further.
The Core Idea: A Website Is a Machine With One Job
Think of your website as an employee you're hiring.
Before you hire anyone, you write a job description. What do they do? Who do they talk to? How do you know they're performing?
Most people skip this for their website. They hire a "generalist" that does everything vaguely and nothing well.
A good website has one primary job, and every page, button, and sentence either supports that job or gets cut. Examples:
- Get local customers to book a call
- Sell a small catalog of products
- Capture emails for a newsletter
- Prove credibility so a prospect says yes to your proposal
Pick one. You can add secondary goals later, but the first version needs a single clear outcome. Write down who the site serves and what they should be able to do. Everything else flows from that sentence.
Step 1: Write the One-Sentence Brief
Here's the template. Fill it in before you do anything else:
This website helps [specific person] do [specific thing] so they can [specific result].
Weak: "This website helps people learn about my business."
Strong: "This website helps homeowners in Lagos request a quote for solar installation so they can stop relying on diesel."
The second one tells you the audience, the main action, and the motivation. It also tells you what the homepage headline should say, what the main button is, and which pages you need.
If you can't write the sentence, you're not ready to build. That's good news. You just saved yourself from building the wrong thing.
Now go one level deeper and answer four questions in a doc:
- Who is the visitor? Be specific. "Everyone" is not an audience.
- What are they trying to do when they arrive? Compare prices? Check credibility? Find your phone number?
- What do you want them to do next? One primary action.
- What would make them leave? Slow load, confusing menu, no proof, no price.
Keep this doc. You'll come back to it every time someone says, "Can we also add...?"
Step 2: Map the Pages Before You Design Anything
This is where most beginners go straight to visuals. Don't.
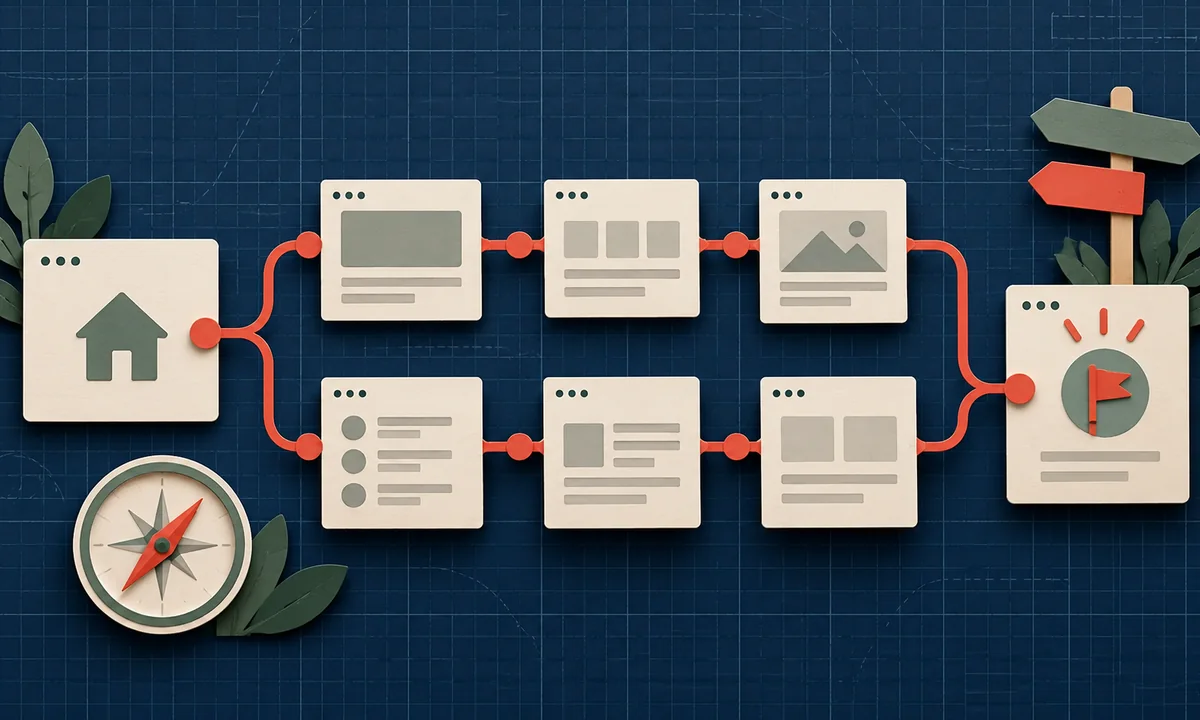
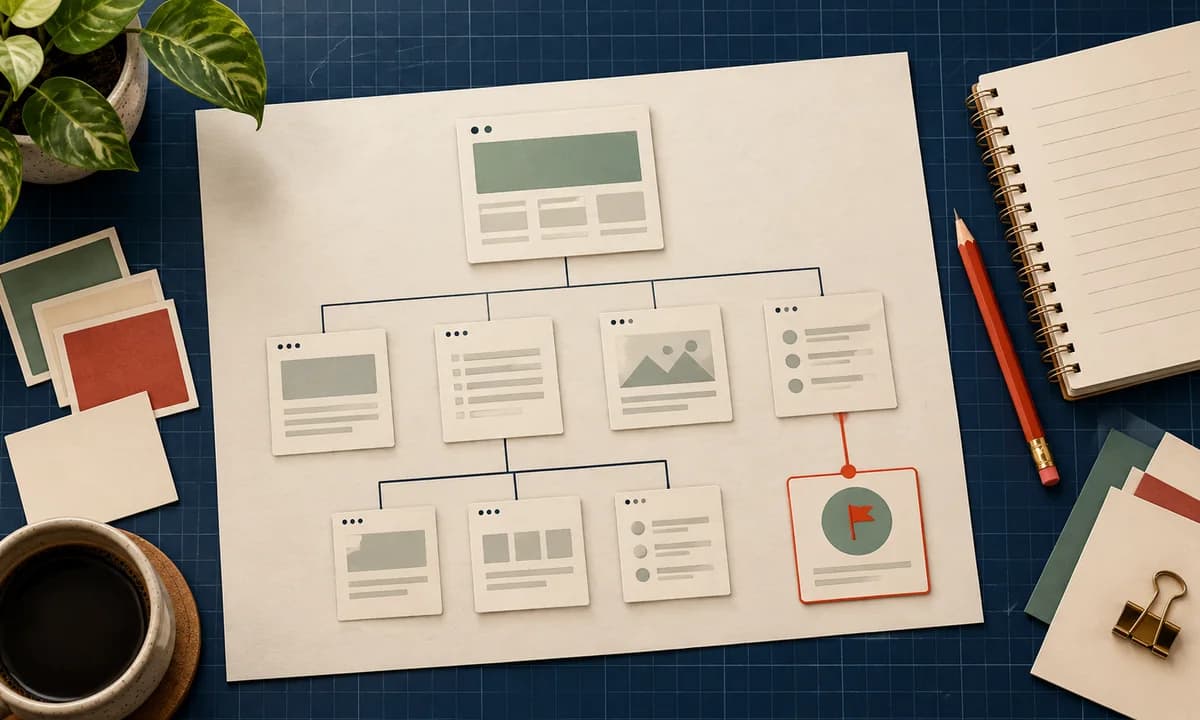
Start with a page map: a simple list of the pages you need and how they connect. For a first website, this is usually smaller than you think:
- Home: states the offer and routes people to the next step
- Services or Products: what you sell, in plain language
- About: why anyone should trust you
- Proof: case studies, testimonials, or examples
- Contact: the easiest path to reach you
That's it. Five pages beat twenty thin ones.
Then ask of each page: What question does this answer, and what does the visitor do next? If a page has no next step, it's a dead end. Dead ends kill conversions.
This is also where navigation gets decided. Navigation isn't decoration. It's the way visitors find their way when they're impatient and half-distracted, which is most of the time. If you want to go deeper on this, we break it down in designing navigation that helps people find their way. The short version: fewer menu items, clearer labels, and no clever names. "Services" beats "What We Do" beats "Our Magic."
For a deeper research angle, the Nielsen Norman Group's usability fundamentals are worth a read. Usability is the discipline of making sure people can actually use what you built.
Step 3: Plan the Content Before You Plan the Layout
Here's a mistake that costs people weeks: they design a beautiful layout, then try to cram in content that doesn't fit.
Reverse it. Write the rough content first, even as bullet points. Headline, three benefits, proof, call to action. Then design around it.
Content planning has three parts:
The words. Write like you're explaining it to a friend over coffee. Clear beats clever every time.
The proof. Testimonials, numbers, logos, before-and-after examples. Visitors don't trust claims. They trust evidence.
The structure. Each page gets one main heading and logical subheadings. This helps readers scan and also helps search engines understand the page. Semantic HTML is the foundation here, and MDN has a clear explanation of semantics in HTML.
If you're going the WordPress route, content planning matters even more because your whole workflow is built around publishing. We cover that in setting up a WordPress website with a clear content plan.
Step 4: Choose Your Build Path (After the Plan, Not Before)
Here's the order most people get wrong: they pick the tool first, then try to fit the project into it.
Pick the tool last. The plan tells you what you need. There are four common paths, and each fits a different situation.
Path 1: WordPress. Best when you want to publish content often, edit things yourself, and tap into a huge ecosystem of plugins. It's the default for blogs, service businesses, and content-led sites. Start with our WordPress websites hub, and see the official WordPress documentation for the platform basics.
Path 2: Shopify. Best when you're selling products and want checkout, payments, and inventory handled for you. If you're still deciding, browse our roundup of 25 Shopify stores to inspire your next online shop and our Shopify topic page.
Path 3: WordPress with WooCommerce. Best when you want store functionality but also want full control and strong content marketing on the same site. See WordPress ecommerce, and plan your listings with a useful product-page structure.
Path 4: Custom-built. Best when your project has unusual requirements, performance needs, or a product experience that templates can't deliver. It costs more and takes longer, but you control everything. Explore custom-built websites and custom-built ecommerce websites.
A quick decision filter:
- Mostly content and leads? WordPress.
- Mostly selling a simple catalog fast? Shopify.
- Want a store plus a content engine you fully own? WordPress ecommerce.
- Need something a template can't do? Custom build.
And if you do need a framework question answered: you don't choose one first. Start with the site's purpose, audience, and content. Those decide which tools fit the job.
Step 5: Decide How Much Customization You Actually Need
A lot of first-time builders assume "professional" means "custom." It doesn't.
A well-chosen theme with strong content will outperform a custom build with weak positioning every single time. Custom work pays off when you have a specific reason: a unique brand system, specific performance targets, or functionality the market doesn't offer.
If you're heading toward a bespoke WordPress design, plan it around your content, not the other way around. We walk through that in planning a custom WordPress theme around your content, and the broader custom WordPress themes page covers the landscape.
The rule I use: start with the simplest thing that can do the job, then earn complexity.
Step 6: Build for Accessibility From Day One
Accessibility is the thing everyone says they'll "add later" and almost never do.
It's much cheaper to build in from the start, and it makes your site better for everybody. Clear headings, readable contrast, keyboard-friendly navigation, descriptive link text, and alt text on meaningful images all help real people and help search engines understand your pages.
Here's a starter skeleton to show how simple the foundation can be. It's a starting point, not a complete page:
<main>
  <h1>A useful website starts here</h1>
  <p>Describe what your visitor can do next.</p>
  <a href="/contact">Start a conversation</a>
</main>
One main heading. One clear paragraph. One obvious next step. That's the whole idea.
For the full standard, the W3C's Web Content Accessibility Guidelines overview is the reference everyone in the industry points to.
Step 7: Plan for Search From the Start
Here's the truth nobody likes: a website nobody can find is a very expensive business card.
SEO isn't something you bolt on at launch. The decisions you make while planning, like page structure, URLs, headings, and internal links, are the same decisions that determine whether Google can understand and rank your pages.
Bake these in during the planning stage:
- One clear topic per page. Don't make a page try to rank for five unrelated things.
- Descriptive titles and headings. Say what the page is, plainly.
- Internal links. Connect related pages so visitors and crawlers can follow the trail.
- A crawlable structure. Your page map is your SEO map.
- Search Console set up on day one. It's free and shows how Google sees your site. Here's the official Search Console page.
Google's own SEO Starter Guide is still the best free primer on crawling, indexing, and understanding content. Pair it with our practical SEO starting point for your next website for a checklist you can use before launch, and our SEO topic hub for more.
Running WordPress? The WordPress SEO hub covers the platform-specific stuff.
Step 8: Plan for AI Search, Not Just Google
This is the new layer, and early movers have an edge.
People now get answers from AI assistants and generative search experiences, not just ten blue links. Those systems pull from pages that give clear, well-structured, trustworthy answers.
The planning implication is simple. When you outline a page, write down the exact question it answers, then answer it clearly near the top. Back it with real sources. Make limitations clear instead of hiding them.
You don't need to chase tricks. You need content worth referencing. We cover the foundations in AI search starts with content worth referencing, and you can explore the wider topics under AI SEO and Generative Engine Optimization.
One technical add-on worth knowing: structured data helps search engines understand what your content represents. Google's intro to structured data is a good place to start once your basics are in place.
Step 9: If You're Selling, Map the Checkout Before You Build the Store
Store owners make a very specific mistake: they spend weeks on the homepage and an hour on checkout.
Checkout is where money is made or lost. Every extra field, surprise fee, or confusing step is a place where a buyer disappears.
Before you build, sketch the path from product page to payment confirmation. What does the customer need to know? What could scare them off? Which payment methods do your customers actually use?
We break this down in mapping the checkout before building a custom store. Do this on paper first. It's free, and it saves you from rebuilding later.
Step 10: Set Performance Standards Before You Launch
Speed is a feature. Slow pages lose visitors before they've read a word.
Google's Core Web Vitals give you a shared language for loading, interactivity, and visual stability. You don't need to obsess over every metric on day one, but set a standard: pages should load fast on a mid-range phone on a normal connection.
That matters a lot when your audience is mobile-first. In many markets, that's most of your visitors.
Practical habits that help:
- Compress and properly size images
- Avoid stacking heavy plugins or scripts
- Keep your page designs simple
- Test on a real phone, not just your laptop
Once you're live, run a repeatable check rather than a one-off panic. Our guide on a small technical SEO review you can repeat gives you a routine.
Step 11: Review Before You Build
Here's the cheapest step in the whole process, and the one people skip.
Show your plan to someone who represents your audience. Not your friend who'll say "looks great." A real potential customer or user.
Give them a rough page map and ask three questions:
- "What do you think this site does?"
- "Where would you click first?"
- "What's missing?"
Keep a short list of decisions made and questions still open. That list becomes your project brief, and it stops scope creep dead.
Step 12: Plan What Happens After Launch
Launch isn't the finish line. It's the starting line.
Decide in advance:
- Who updates the site, and how often?
- What do you measure? Leads, sales, sign-ups, whatever ties back to your one-sentence brief.
- What gets automated? Form notifications, spreadsheet logging, email follow-ups. If you're on WordPress, see WordPress automation without n8n for three practical plugin options.
Then schedule a review at 30, 60, and 90 days. Look at what visitors actually did, not what you hoped they'd do. Adjust the page map, the copy, and the calls to action.
The Planning Checklist (Steal This)
Before you build, make sure you have:
- A one-sentence brief
- A defined audience and primary action
- A page map with a next step on every page
- Rough content for each page
- A build path chosen after the plan
- Accessibility and performance standards
- An SEO and AI search plan
- A checkout map (if selling)
- Feedback from a real user
- A post-launch measurement plan
If you can check all ten, you're ahead of most people who've been building websites for years.
Frequently Asked Questions
Do I need to choose a framework first?
No. Start with the site's purpose, audience, and content. Those choices tell you which tools fit the job.
How long should planning take?
For a small business site, a focused day or two is often enough. For a store or custom build, expect longer. The point is to make decisions on paper, where changes are cheap.
WordPress, Shopify, or custom?
Match the tool to the job. Content and leads point toward WordPress. A simple, fast-moving catalog points toward Shopify. Unusual requirements point toward custom. The sections above walk through the trade-offs.
Can I plan a website myself, or do I need an agency?
You can absolutely plan it yourself using this guide. If you'd rather have experienced hands on the build, SEO setup, or store, see our website and SEO services.
The Bottom Line
The best websites aren't built by the best coders. They're built by people who know exactly who they're serving and what that person should do next.
Do the planning. Write the sentence. Map the pages. Pick the tool last.
Then build something worth putting online.
Want a second pair of eyes on your plan, or help turning it into a real site? Get in touch or explore our services.